
GIANT POWDER PUFF: HOW TO
Thursday, April 02, 2015
After getting such a positive response about my giant powder puff on Instagram. I thought it would be a nice idea to share how I made it, as it was simpler than you would think and it's such an amazing feeling making something with your own hands. After researching I realised the powder puffs out there were either too small, or far too expensive! I explored through my attic and found an old unused fluffy square cushion. Then a light bulb pinged on in my head! I could make my own powder puff, or at least try. It measured roughly 18x18" in size, and was just itching to be made into something beautiful. Along side of it, I also found a small round cushion that I used to make that round puff shape. Remember if you're making your own puff that you need as much stuffing as you can. I used both the stuffing in the little round cushion and some out of the fluffy cushion too. Just to bulk it out and make it really full.
What you'll need:
- Fluffy material (in whatever colour you choose)
- Stuffing and/or a round cushion
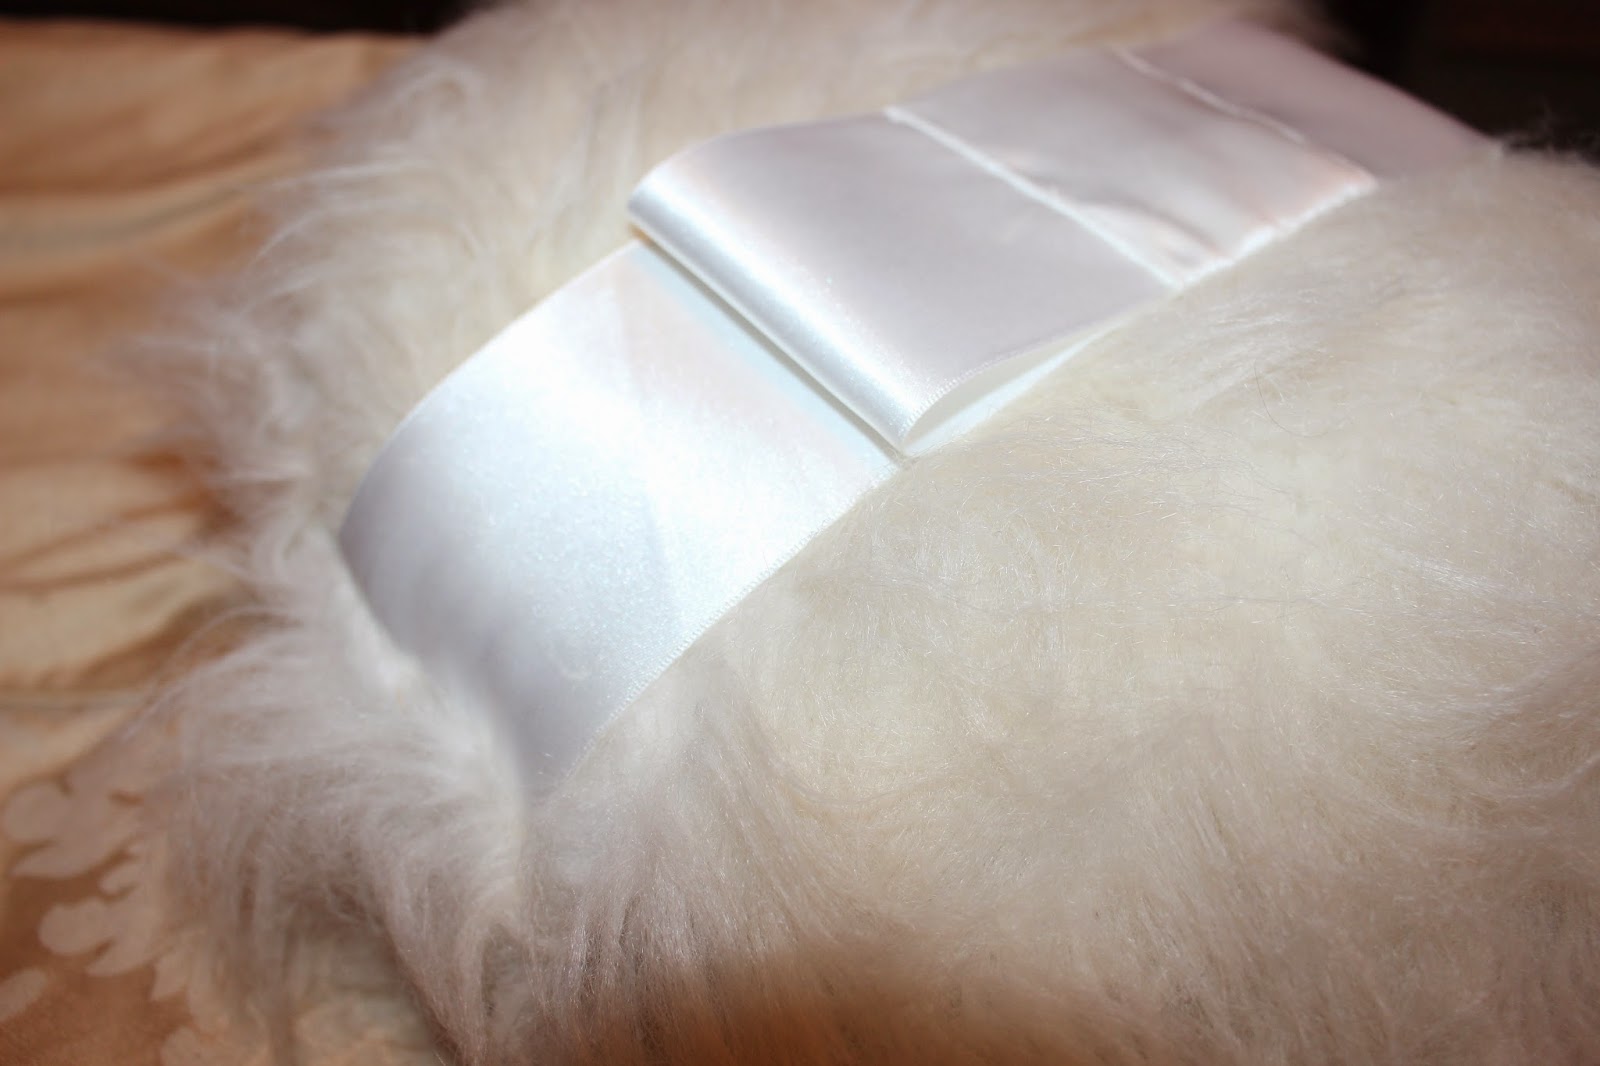
- Ribbon (I chose a 70mm thick x 1m long ribbon)
I started with cutting the square fluffy cushion, around three edges. To pull out the stuffing and to turn it inside out. I then placed the round cushion on top and measured around it with a felt tip pen. Making sure I left about an inch out from the actual circle as you need a little room to sew it all together. I pinned the fluffy material back together (still inside out) so I can cut both sides equally at once. (A good, sharp pair of fabric scissors would be a good investment, if you don't already own a pair. But they aren't essential.) Next you want to sew the two circles together, still keeping the fluffy side facing together on the inside. Keeping in mind that you have to fit either your round cushion, or stuffing in later. So don't sew all the way around, remember to leave a gap. A good tip for the ribbon, is to pin it where you want it to be on one fluffy side before sewing together. Allowing the ribbon to hang out a little each end. So when you sew around, it's going to be only showing at one side. Like how mini powder puffs look! Finally after doing all the sewing, you then turn it the right way around, so the fluff is now on the outside. This is when the stuffing goes in, and now you want to hand sew the gap you have left open. But don't worry too much about this, even if you aren't the best sewer! If you just make sure there are no gaps, I promise you it doesn't have to be very neat.


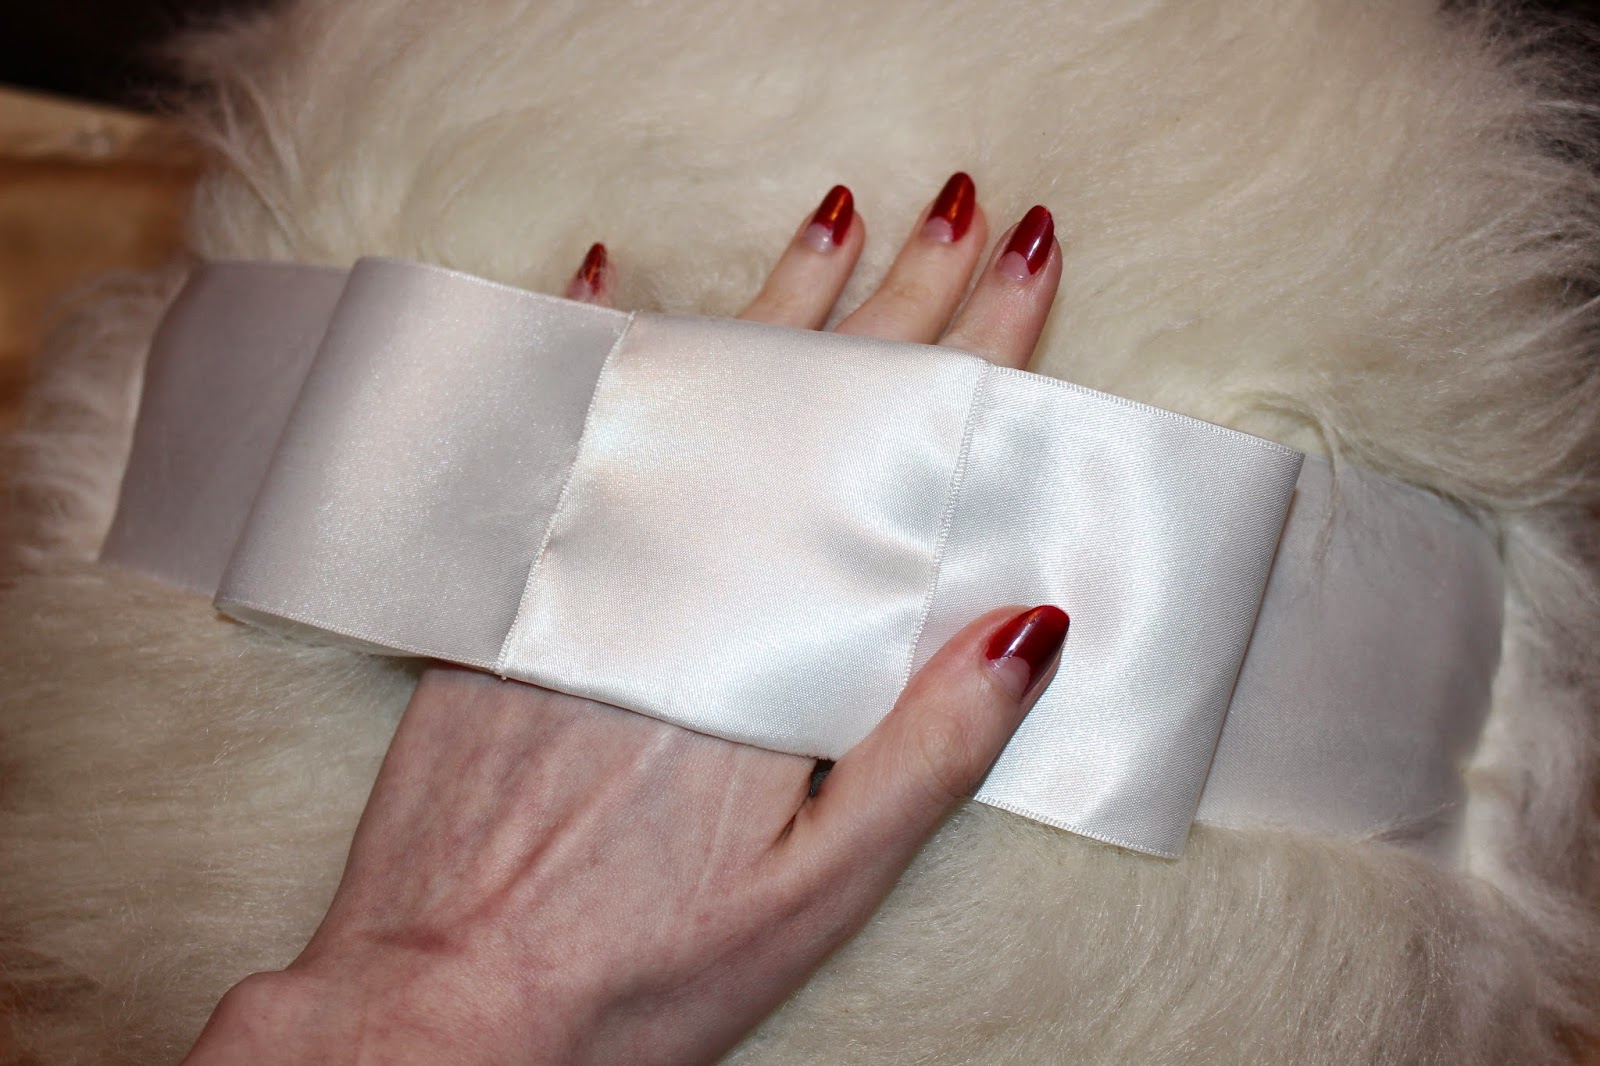
For the bow on the ribbon I folded ribbon in half, positioning the join in the middle. Then I placed another bit of ribbon over the middle (pinning as I go) then I sewed down each side to hold it all into place and to hide the join. It's more complicated to explain, that it was to do. But I felt it was a little extra touch, and a good use for the spare ribbon.

There you have it, you should now have a powder puff of your very own! All it needs now is a brush every now and then, and some baby powder to boop against yourself!
I hope that was clear and easy to follow. As it's quite a confusing thing to explain without showing it step by step. But if I wasn't clear, or you aren't completely sure on something - please feel free to get in touch. If you do decided to make your own powder puff I would really love to see! Take lots of pictures and send them my way!


0 comments